This week we will actually move a database into Azure SQL Database, using the first of two of Microsoft’s recommended methods.
The main thing to keep in mind is that SQL Server (on-premises, or “earthed”) and Azure SQL Database (“cloud”) are not the same product. They support the same schemas and data, and allow the same scripts and applications to run, but they are not the same thing.
This is important, because when we migrate to Azure SQL Database from an on-premises SQL Server environment, we can’t simply do a backup and restore of our database.
The simple reason is that there is no file system access in Azure SQL Database. We won’t be able to see a backup file to restore it.
The more complicated reason is that we don’t have access to any instance-level features, including server configuration, tempdb access, and so on, and therefore our databases must be self-contained.
The recommended method to migrate a database to Azure SQL Database is the Migration Wizard in SQL Server Management Studio.
For larger databases, we can create an extract first, which can be imported later using the necessary tools.
Under the covers, the migration is using SQL Server Data Tools to extract a Data-tier Application (DAC). This acronym is not to be confused with Dedicated Administrator Connection.
According to MSDN (emphasis added):
A data-tier application (DAC) is a logical database management entity that defines all of the SQL Server objects – like tables, views, and instance objects including logins – associated with a user’s database. A DAC is a self-contained unit of SQL Server database deployment that enables data-tier developers and database administrators to package SQL Server objects into a portable artifact called a DAC package, also known as a DACPAC.
A BACPAC is a related artifact that encapsulates the database schema as well as the data stored in the database.
From this, we can establish that we are creating a BACPAC file, containing the schema in XML format, a few metadata files with version information, and of course the data itself, in BCP (Bulk Copy) format. This is then compressed (using standard PK-ZIP format) in order to save space.
Anyone who has used other products that create database dump files will be familiar with this process.
The BCP file format is not human-readable, unlike, say, MySQL’s dump files, and if we look at the MSDN article on format files, it will make our heads spin.
That said, I was able to pick out string values from the BCP file in my test that corresponded with row values in the source database table.
To be on the safe side, I like to break up the process into two stages, so that if the second part fails, we can retry it at our convenience:
- Create the BACPAC file locally and verify it;
- Import the BACPAC file into Azure SQL Database.
If the database is small enough, we use the Migration Wizard inside the latest version of SQL Server Management Studio and do both steps in one go. Let’s do that now.
(The following images are copyright © 2016 Microsoft Corporation, retrieved from the official documentation pages.)
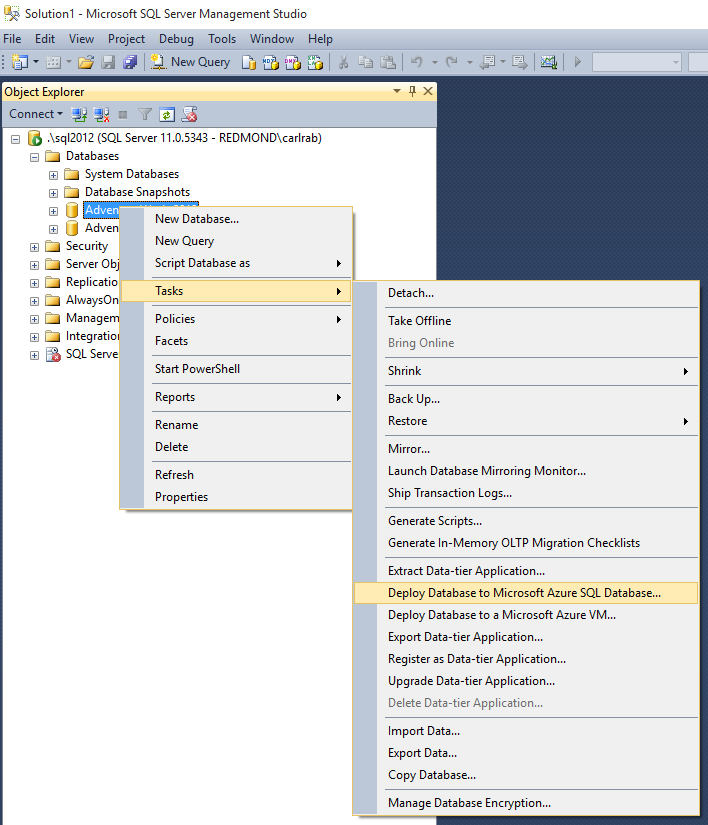
Inside SQL Server Management Studio, right-click on the database we want to migrate. In this case, it’s [AdventureWorks2012]. Click Tasks > Deploy Database to Microsoft Azure SQL Database….
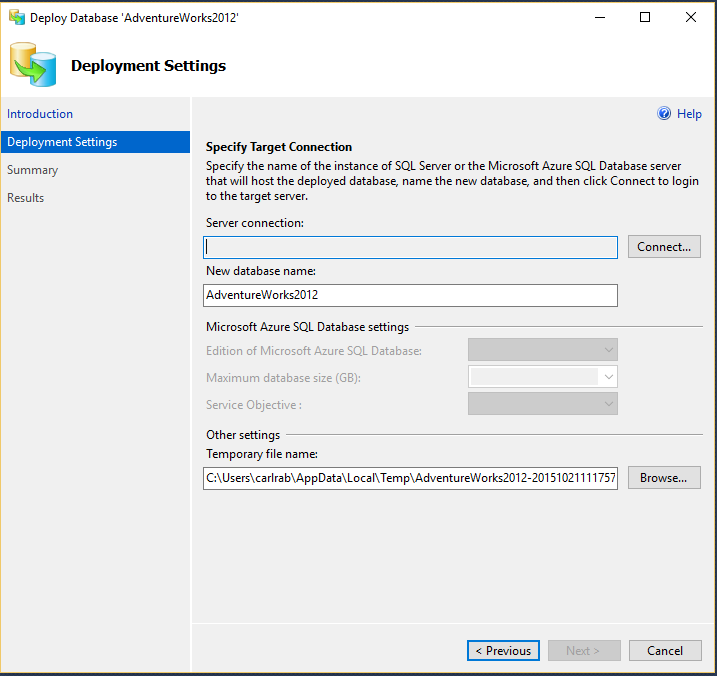
Here we specify the Server connection of our Azure SQL account, by clicking on the Connect… button:
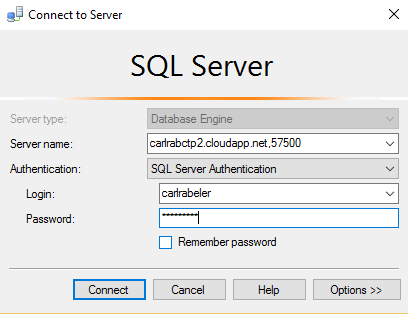
This is where we connect to the Azure SQL account. Since this migration wizard is doing all of the heavy lifting, we do not need to create a database beforehand.
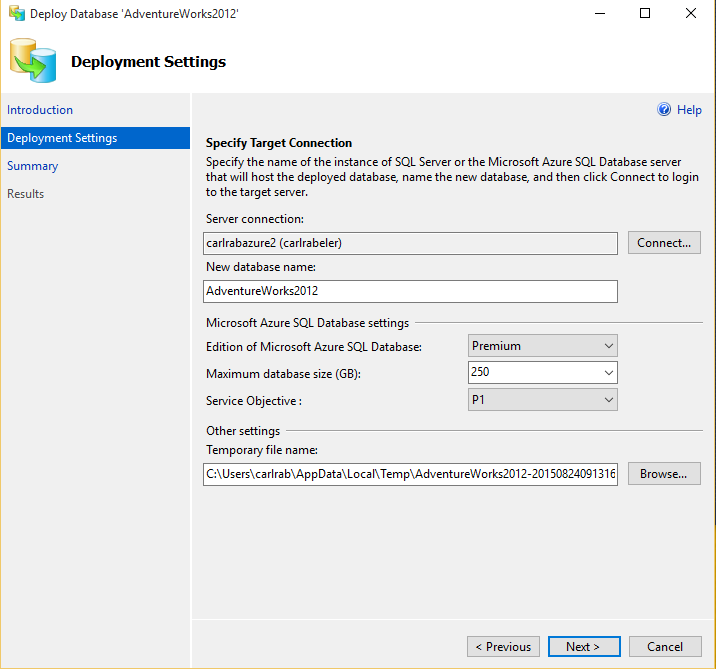
Now that we have connected to our Azure account, we can create the database on this screen. Remember the different editions and their associated costs, so we won’t pick the $7000 per month option unless we can afford it.
Once we start the migration, it can take a while, and it may even fail due to compatibility issues, which have to be resolved.
We briefly touched on these last week, and they must be resolved before migrating. We would use the latest SQL Server Data Tools to identify errors or warnings.
But because we’ve done our compatibility homework, everything works the first time.
It’s really that simple.
If the database is large, or the network connection is unstable or slow, we will have to do the import from our BACPAC file or using BCP directly. That will be covered in next week’s post.
If you have any questions or comments about this process, feel free to ask me on Twitter at @bornsql .